

Grout Solutions
Grout Restoration Kit Guide for Lasting Results
Jun
If your grout still looks dirty after scrubbing, the problem usually is not effort. It is that worn, porous grout holds on to soil, soap residue, grease, and old stains in a way ordinary cleaners cannot fix. That is exactly where a grout restoration kit guide helps – not by promising a miracle, but by showing you how to clean, recolor, and protect grout so the floor or shower actually looks restored instead of temporarily better.
For most homeowners, the real win is avoiding replacement. Pulling out grout is messy, expensive, and often unnecessary when the joints are still structurally sound. A good restoration kit is built to solve the cosmetic and maintenance problems first: deep cleaning, uniform color correction, and long-term stain protection. If your grout is intact but blotchy, darkened, or impossible to keep clean, restoration is usually the smarter move.
What a grout restoration kit should actually do
Not every kit on the market deserves the word restoration. Some are really just cleaning bundles, and that matters because cleaning alone will not fix permanently discolored grout. If the grout has absorbed years of dirt or has uneven color from age, moisture, or previous sealers, you need more than a brush and a stronger bottle.
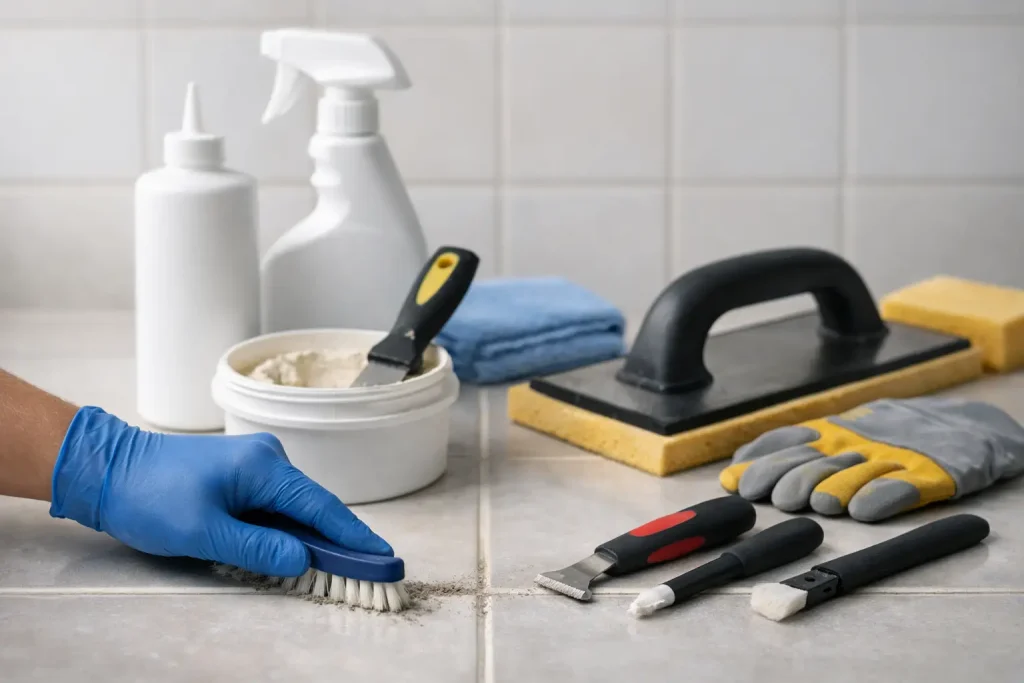
A true restoration kit should handle three stages. First, it should remove embedded buildup with a dedicated deep cleaner. Second, it should correct the appearance of the grout, usually with a color sealer that creates a clean, even finish. Third, it should leave the surface protected so future maintenance is easier. When those pieces work together, you get the kind of stain-free makeover people often assume requires regrouting.
That last part is where many DIY projects go sideways. People clean the grout until it looks slightly improved, then stop. A month later, the same traffic lanes, shower corners, or kitchen spill zones start looking tired again. Restoration lasts longer when the system does more than brighten the surface for a weekend.
Grout restoration kit guide: what to look for before you buy
Start with your surface and your problem. Floor grout in a busy kitchen deals with grease, foot traffic, and tracked-in soil. Shower grout sees soap scum, body oils, hard water, and moisture. Natural stone installations add another layer because not every cleaner is safe around stone. The right kit should match the setting, not just the color of the grout.
The most useful kits include a deep cleaner, an application tool set, and a grout color sealer rather than a basic penetrating sealer alone. A penetrating sealer helps resist future staining, but it does not correct uneven color. If your grout is already blotchy, a color sealer is the better fit because it restores the look and protects in one step.
Shade matching matters more than many homeowners expect. If the goal is to make the floor or shower look professionally finished, the grout color has to look intentional, not close enough. A broad color range is a strong sign you are buying from a serious restoration brand, especially if you are trying to match an existing grout manufacturer color or refresh a specific design scheme.
You should also pay attention to longevity claims. Some products are built for quick cosmetic improvement. Others are designed for years of performance when applied correctly. If you are putting in the time to prep and detail grout lines, it makes sense to use a system meant to hold up, not one that sends you back to square one in six months.
When cleaning is enough and when color sealing is the better move
There is a simple test. If the grout lightens evenly after deep cleaning and stays consistent once dry, you may only need cleaning and maintenance. If it dries with dark spots, yellowing, patchiness, or permanent traffic patterns, cleaning has probably done all it can.
This is where people often over-scrub and under-solve. Heavy scrubbing can improve the surface, but it cannot reverse deep-set discoloration in porous grout. Color sealing can. It gives old grout a uniform finish while creating a protective barrier that helps block future staining. For many homeowners, that one-two benefit is the difference between grout that looks older than the rest of the room and grout that looks restored right back to new.
There is one trade-off to be honest about. Color sealing requires more careful prep than basic cleaning. If there is leftover soap film, mineral buildup, or oily residue in the joints, the finish may not bond as well as it should. The process is still very manageable, but success depends on not rushing the prep stage.
How to use a grout restoration kit without making extra work
The best results come from thinking in stages, not shortcuts. Clear the area first and make sure the grout is dry enough for evaluation. In showers, that may mean waiting until the surface is fully dry so you can see the true color variation instead of moisture darkening.
Apply the deep cleaner according to the product directions and work it into the grout lines with the right brush. You want enough agitation to lift buildup, but not random aggressive scrubbing that splashes cleaner everywhere and wears you out before the real work begins. Rinse thoroughly. Then let the grout dry completely.
Once dry, inspect honestly. If the grout already looks even, maintenance protection may be enough. If not, move to color sealing. Apply the color sealer in controlled sections and wipe excess off the tile face as you go. The goal is clean grout lines and a neat tile surface, not speed. A smaller section done carefully almost always beats covering the whole room too fast and having to redo details later.
For wide areas, pace matters. Start with a test section in a low-visibility spot. That gives you a chance to confirm the color, check adhesion, and get comfortable with the wipe-off timing. After that, the job usually becomes a piece of cake because the process stays consistent.
The biggest mistakes that shorten results
The first mistake is using the wrong cleaner for the surface. Acidic or overly harsh products can create problems around natural stone or leave you with a restoration project that is bigger than the one you started with. The second is skipping rinse and dry time. Residue left in the grout can interfere with color sealer performance.
The third is assuming all stained grout needs replacement. It does not. If the grout is crumbling, missing, or cracked throughout, repair may come first. But if it is solid and simply ugly, restoration is usually faster, cleaner, and far less expensive than demolition.
Another common mistake is treating maintenance as optional after restoration. Even long-lasting protection performs better when the grout is cleaned with the right products. Harsh, high-residue household cleaners can slowly work against the finish you just applied. A simple maintenance cleaner made for treated tile and grout will help preserve the look with less effort.
Who benefits most from a grout restoration kit guide
Homeowners benefit because restoration can dramatically improve kitchens, bathrooms, entryways, and laundry rooms without the cost and disruption of replacement. Property managers benefit because refreshed grout changes how an entire unit shows, especially in bathrooms where dingy joints make otherwise clean tile look neglected. Pros benefit because a reliable system saves time, creates repeatable results, and gives clients a visible before-and-after they can appreciate immediately.
Older tile is often the sweet spot. If the tile itself still works with the room but the grout makes everything look dated, restoration offers the fastest visual upgrade. That is why professional-grade systems have stayed relevant for decades. They solve a real problem in a way that feels practical, not cosmetic-only.
A restoration-first approach also makes sense financially. Replacing tile and grout means labor, disposal, downtime, and often additional repairs once demolition begins. A quality system that cleans, recolors, and stainproofs existing grout can deliver the polished look people want without opening a much larger project.
Choosing a kit with confidence
The best grout restoration kit guide is not the one that tells you every surface needs the same fix. It is the one that helps you match the product system to the condition of your grout. If the grout is sound but stained, choose a kit focused on deep cleaning and color sealing. If the room includes natural stone, make sure the formulas are surface-appropriate. If color consistency matters, prioritize brands with serious shade depth and a professional track record.
That is why restoration-focused companies like This Old Grout stand out. The difference is not just selling cleaners. It is offering a system that helps people restore appearance, protect against future staining, and get a more professional finish without replacing what they already have.
Good grout should not steal attention for the wrong reason. When the right kit does its job, the whole room feels cleaner, brighter, and better cared for – and that is usually all most people wanted in the first place.
