

Grout Solutions
How to Clean Vinyl Plank Floors Right
Jun
Your vinyl plank floor looked nearly perfect the day it went in – crisp lines, clean color, and that polished, high-end look that makes a whole room feel finished. Then real life showed up. Dust gathered along edges, kitchen residue left a light haze, and a few mystery scuffs appeared out of nowhere. If you are wondering how to clean vinyl plank without damaging the wear layer or leaving a sticky film behind, the good news is that the process is simple when you use the right method.
Luxury vinyl plank is built for busy homes, rentals, and commercial spaces because it handles traffic well and cleans up faster than many natural materials. But easy-care does not mean anything goes. The biggest cleaning mistakes usually come from using products that are too harsh, too oily, or too heavy with residue. The goal is not just to make the floor look clean for an hour. It is to remove soil, protect the finish, and keep that just-installed look going as long as possible.
How to clean vinyl plank without damaging it
The safest approach starts dry, not wet. Before any cleaner touches the floor, remove loose grit with a soft broom, microfiber dust mop, or vacuum designed for hard surfaces. That step matters more than many people realize. Fine dirt acts like sandpaper under shoes, especially in entryways, kitchens, and hallways, and it can slowly dull the finish over time.
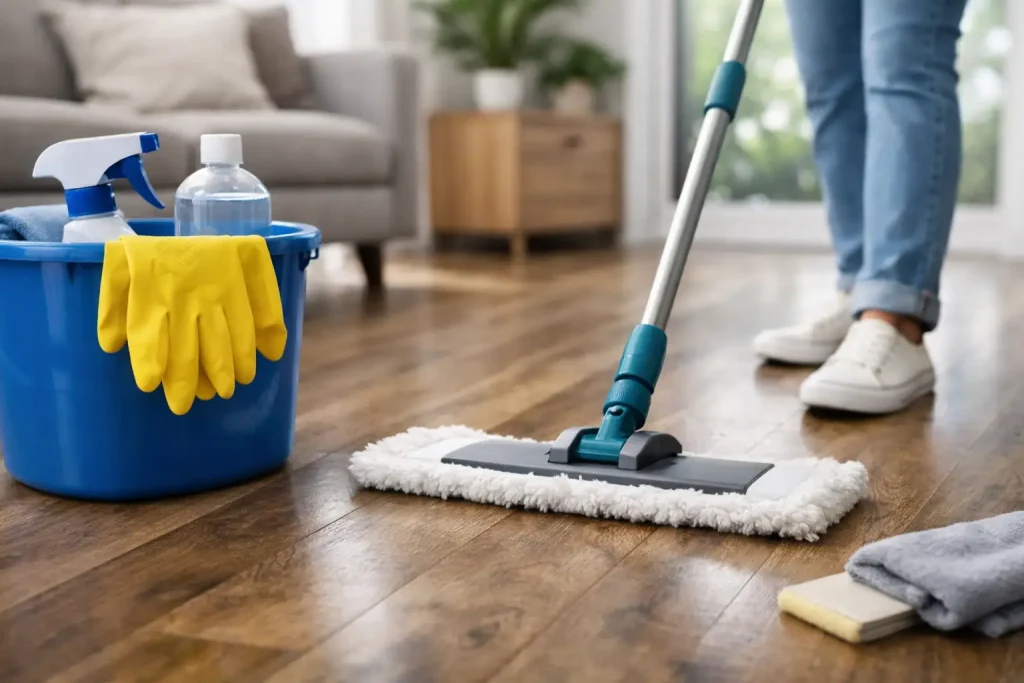
Once the loose soil is gone, move to damp cleaning instead of soaking the floor. Vinyl plank does not need a bucket sloshing with water, and it definitely does not need steam forced into seams. Use a lightly damp microfiber mop or cloth with a vinyl-safe cleaner that lifts dirt without leaving a cloudy film. You want enough moisture to break up residue, but not so much that liquid sits on the floor.
Work in manageable sections and change out dirty pads as needed. That is one of the easiest ways to avoid streaking. A floor can look worse after mopping simply because the same dirty pad was pushed from one room into the next.
What vinyl plank floors actually need
Most vinyl plank floors respond best to a very short routine done consistently. Dry debris removal a few times a week and damp mopping as needed will handle the majority of household messes. In homes with pets, kids, or heavy cooking, that may mean several quick touch-ups each week. In a guest room or lower-traffic area, much less.
What changes the equation is buildup. Not ordinary dirt, but the layered residue left behind by the wrong cleaner, hard water, tracked-in oils, or repeated use of all-purpose products that promise shine. That is when floors start to feel tacky, look dull in afternoon light, or show footprints no matter how often you mop.
A restoration-first mindset works better here than trying to cover the problem with more product. Clean off what should not be there, then switch to a maintenance cleaner that keeps the surface clear instead of coating it. That is how you restore the look instead of chasing it.
The best tools for everyday cleaning
You do not need a complicated setup. A microfiber dust mop, a soft-bristle broom, a hard-floor vacuum, and a quality microfiber wet mop handle most situations well. Microfiber is especially helpful because it traps fine dust instead of moving it around.
If you have textured vinyl plank, pay extra attention to the grain. Dirt can settle into those low spots, especially in kitchens and mudrooms. In that case, a soft cloth or pad with a bit more pressure may be needed to fully lift grime from the texture.
Cleaners to avoid on vinyl plank
Harsh chemistry is rarely the answer. Bleach-heavy formulas, abrasive powders, waxes, oil soaps, and high-gloss polishes can all create problems. Some wear layers are more forgiving than others, but residue and surface dulling are common when the cleaner is not designed for resilient flooring.
Steam mops are another maybe-not-worth-it tool. Some manufacturers warn against them outright because heat and moisture can stress seams or adhesives. Even if your floor seems fine at first, repeated steam exposure is a gamble. When a damp microfiber mop gets the job done, there is no reason to push the floor harder than necessary.
How to clean vinyl plank in real-life messes
Day-to-day dirt is easy. The situations that frustrate people are usually grease, sticky spills, black scuffs, and haze that seems to return after every cleaning.
In kitchens, cooking residue often settles as a light film you do not fully notice until sunlight hits the floor. A floor-safe degreasing cleaner used with a microfiber mop can cut through that layer without stripping the finish. The key is not overapplying. Spray lightly or apply to the mop, clean the section, and follow with a fresh damp pad if needed.
For sticky spots from juice, soda, pet accidents, or tracked-in grime, let the cleaner dwell briefly instead of scrubbing aggressively right away. A minute or two is often enough to loosen the residue so it wipes away cleanly.
Black heel marks and scuffs are common on vinyl plank, especially in high-traffic homes and rental properties. These usually sit on the surface rather than becoming true stains. A non-abrasive cloth or pad with the right cleaner can remove them quickly. If you scrub with something too rough, you may remove the scuff and leave behind a dull patch, which is worse.
When the issue is overall haze, step back and consider the last few months of cleaning, not just the last mess. A hazy floor often points to buildup, not lack of effort. This is where homeowners get stuck in a cycle of mopping more and liking the result less. A proper deep cleaning to strip away residue, followed by a simpler maintenance routine, usually changes everything.
A practical routine that keeps floors looking new
For most households, the best routine is easy to keep up with. Sweep, dust mop, or vacuum frequently enough that grit never gets ground in. Damp mop when the floor starts to look dull, feel slightly dirty underfoot, or show visible soil. Address spills right away so they do not dry into sticky spots.
At entry points, use mats that catch dirt before it spreads. Under chairs and furniture, use floor protectors to reduce scratching. In kitchens, where oils and food residue build faster, a quick targeted cleaning between full mopping sessions can keep the whole room looking fresher.
This is also where using a system instead of random cleaners pays off. A deeper cleaner for occasional buildup and a gentler maintenance cleaner for routine use make more sense than relying on one heavy product every time. That approach is familiar to anyone who restores tile or grout properly – first remove what is embedded, then maintain the clean surface so problems do not come right back. This Old Grout uses that same restoration mindset across hard surfaces because visible results last longer when the process is right.
When vinyl plank needs more than a quick mop
Sometimes the floor is not dirty in the everyday sense. It is tired-looking. The finish seems muted, traffic lanes stand out, and no amount of basic mopping brings back a clear, even appearance. That does not always mean the floor is damaged. Often it means residue, embedded grime in the texture, or years of inconsistent product use.
Start with the least aggressive correction that makes sense. Use a deeper-cleaning, vinyl-safe product and fresh microfiber pads. Clean in sections, and inspect each area once dry before deciding you need more. If one pass removes the haze, stop there. More product and more scrubbing are not signs of better cleaning.
If the floor still looks uneven after a proper cleaning, then it may be wear rather than dirt. At that point, cleaning can improve the appearance, but it cannot replace a worn wear layer. That is an important distinction. Good cleaning restores what buildup has hidden. It cannot reverse physical damage.
How to keep vinyl plank cleaner longer
The easiest way to reduce heavy cleaning is to reduce what reaches the floor in the first place. Shoes bring in grit, driveway residue, and lawn chemicals. Pet paws add moisture and outdoor soil. Cooking leaves a fine airborne grease that settles beyond the stovetop. None of this means your floor is hard to maintain. It just means prevention does part of the work.
A little consistency beats occasional overkill. Clean often enough that dirt never becomes buildup. Use products made for the surface. Keep moisture controlled. And when the floor starts to lose its fresh look, think like a restoration pro – remove the film, reset the surface, and get back to a maintenance routine that is actually a piece of cake.
A vinyl plank floor does not need fancy treatment to stay attractive. It needs the right treatment, done at the right time, so the finish you paid for still looks like it belongs in the room.
