

Grout Solutions
How to Remove Grout Haze the Right Way
Jun
You finish a tile job, step back, and instead of a crisp, clean surface, you see a dull film staring back at you. That cloudy residue is exactly why so many homeowners search for how to remove grout haze after what should have been the satisfying last step. The good news is that grout haze is usually fixable. The trick is matching the method to the surface, the severity of the haze, and how long it has been sitting there.
Grout haze is not the same thing as heavy grout buildup or years of soap scum. It is a thin cement-based residue left behind after grouting, and it can make even brand-new tile look old, dusty, or poorly installed. When you remove it correctly, the transformation is immediate. Color sharpens, shine comes back, and the whole surface looks finished instead of forgotten.
What grout haze actually is
Grout haze forms when a light layer of grout particles dries on the face of the tile instead of being fully wiped away during installation. On porcelain or ceramic, it usually appears as a chalky film. On textured tile, it can settle into the low spots and look more stubborn than it really is. On natural stone, it gets trickier because the same residue can cling to a more porous, sensitive surface.
That distinction matters. If you treat true grout haze like hard water or grease, you can waste time using the wrong cleaner. If you treat delicate stone like durable porcelain, you can create a bigger problem than the haze itself.
How to remove grout haze without damaging the tile
The safest approach is always to start mild and only step up if the residue does not budge. Fresh haze often comes off with less effort than people expect. Older haze, especially if it has cured for days or weeks, usually needs a stronger grout-safe cleaning method.
Before you do anything, dry dust or vacuum the surface so you are not rubbing loose grit around. Then test your cleaning method in a small, less visible area. That one step can save a lot of frustration, especially on polished tile or natural stone.
For light grout haze on ceramic or porcelain
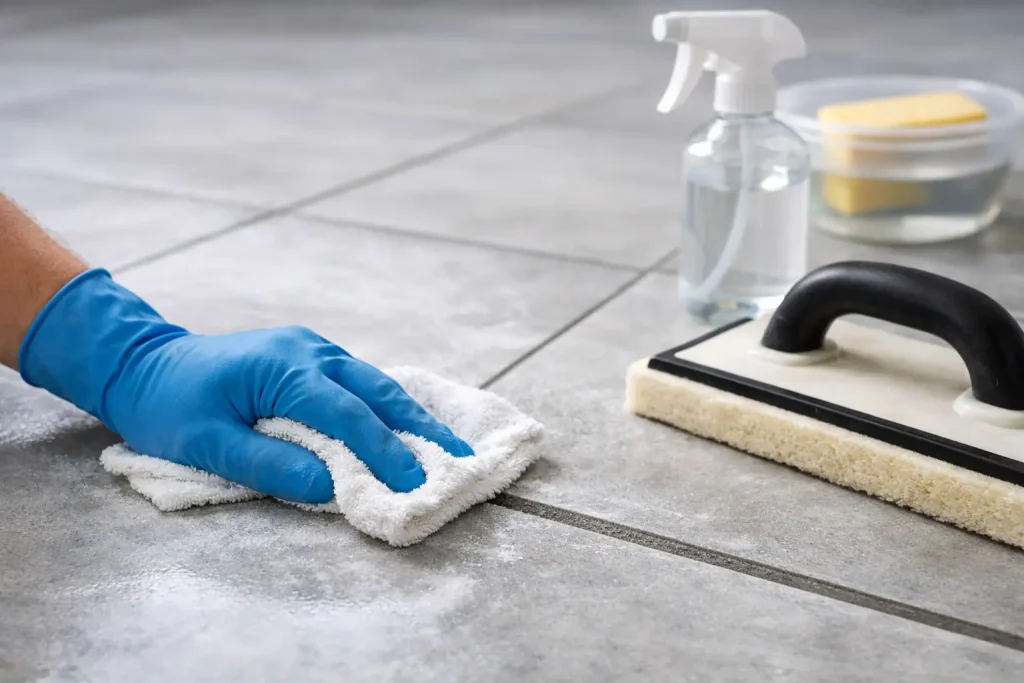
Start with warm water and a microfiber cloth or sponge. Wipe the tile in small sections, rinsing frequently so you are lifting residue instead of smearing it around. A white nylon scrub pad can help if the haze is slightly more stubborn, but keep pressure controlled. You want to loosen the film, not scratch the finish.
If plain water is not enough, move to a neutral or grout-specific cleaner designed to break down post-installation residue. This is often the sweet spot for DIY homeowners who want a professional-looking finish without risking damage from harsh acids. A targeted cleaner gives you more cleaning power while staying easier to control than improvised solutions.
Once the haze loosens, buff the tile dry with a clean towel or microfiber cloth. That final buff is what reveals whether the film is actually gone or just wet.
For heavier or cured grout haze
If the haze has been sitting longer, you may need a more specialized grout haze remover. On cement grout residue over acid-safe tile surfaces, these products can cut through what water and basic cleaners leave behind. Follow label directions carefully, work in manageable sections, and do not let the product dry on the tile.
This is where patience matters. Heavy haze sometimes lifts in stages. One pass may remove the obvious cloudiness, while a second controlled application clears the remaining film. Rushing with aggressive scrubbing usually does less than a proper cleaner allowed to dwell for the recommended time.
After cleaning, rinse thoroughly with clean water. Any leftover cleaner can leave its own residue, which defeats the point.
When not to use acidic cleaners
A lot of grout haze advice online jumps straight to vinegar or acid-based products. Sometimes that works on durable ceramic or porcelain, but it is not a universal fix. Acid can etch natural stone, damage polished finishes, and weaken certain grout joints if overused or used too soon.
Avoid acidic haze removers on marble, travertine, limestone, onyx, and other acid-sensitive stone. If you are not completely sure what your tile is made of, treat it like a delicate surface until you confirm otherwise. It is far easier to use a safer cleaner first than to repair etched stone later.
New grout also needs time to cure. Using strong acidic products too early can interfere with that curing process and affect the final look of the grout lines. If the installation is fresh, check the grout manufacturer’s cure-time guidance before using anything stronger than water or a pH-balanced cleaner.
How to remove grout haze from natural stone
Natural stone needs a different mindset. The goal is still to remove the residue, but with much tighter control over chemistry and scrubbing pressure. Use a stone-safe cleaner made for post-grout cleanup or mineral residue, depending on what you are seeing. Soft cloths, non-scratch pads, and small test areas are essential here.
Textured stone can make haze look worse because residue settles into pits and surface variation. In those cases, gentle agitation with the right cleaner works better than brute force. Let the product do the work, then wipe and rinse thoroughly.
If the haze is severe on a valuable or highly polished stone, calling in a restoration pro can be the smartest move. That is not a cop-out. It is a practical choice when the surface itself costs more than the cleanup mistake would.
The tools that make the job easier
The difference between a streaky cleanup and a polished finish often comes down to using the right tools. A microfiber cloth lifts fine residue better than an old bath towel. A white scrub pad gives you extra cleaning power without the abrasion of darker, more aggressive pads. Two buckets of clean water help too – one for rinsing the dirty sponge, one for cleaner water on the tile.
This is also a job where specialized surface-care products earn their keep. A cleaner formulated for grout residue is more predictable than random household shortcuts, especially when you care about preserving tile finish, grout color, and long-term appearance. That restoration-first approach is what helps surfaces look new again instead of just temporarily less cloudy.
If haze keeps coming back
Sometimes what looks like grout haze is actually something else. Hard water deposits, soap film, construction dust, or residue from an improper cleaner can all leave a cloudy finish. If you clean the surface and the haze returns after drying, take a closer look at the source.
In showers, hard water and soap scum are common impostors. On floors, dirty mop water can redeposit residue. On recently completed jobs, leftover grout dust may still be settling into textured tile. The fix depends on the real cause, so it is worth slowing down before repeating the same method.
After the haze is gone
Once the tile is clear, that is the right time to think about protecting the surface instead of just admiring it for five minutes and moving on. Clean grout and tile stay looking better when they are properly maintained, and in many cases, sealed where appropriate. If grout lines are uneven in color, stained, or still look tired after cleanup, a grout color sealer can do more than improve appearance. It can restore a uniform look and add stain protection in the same step.
That is where a brand like This Old Grout fits naturally into the process. Instead of stopping at cleanup, you can move toward a longer-lasting finish that helps prevent the same worn, blotchy look from creeping back in. For homeowners, that means less frustration. For property managers and pros, it means a more complete result.
How to avoid grout haze next time
The best grout haze removal job is the one you barely need. During installation, wipe excess grout promptly, rinse your sponge often, and avoid overwetting the joints. Change rinse water as soon as it turns cloudy. Then do a final buff with a dry microfiber cloth once the grout begins to firm up.
That last buff is easy to skip when you are tired and the job looks nearly done. It is also one of the simplest ways to prevent that chalky film from hardening across the tile face.
If you are dealing with textured tile, dark grout on light tile, or a large area, work in smaller sections. Grout haze gets more stubborn when it sits too long, and big sections tempt people to move too fast.
A clean tile surface should look finished, not foggy. If your floor, shower, or backsplash still looks dull after grouting, do not assume the installation is ruined. In most cases, the right cleaner, the right method, and a little patience are enough to restore that sharp, polished look you were expecting all along.
