

Grout Solutions
How to Deep Clean Tile and Grout Right
May
If your tile still looks tired after mopping, the grout is usually the reason. Learning how to deep clean tile and grout is less about scrubbing harder and more about using the right process for the kind of buildup you actually have. Soap scum, body oils, hard water, kitchen grease, and ground-in soil do not respond the same way, and that is why so many DIY cleaning attempts barely move the needle.
The good news is that dingy grout does not automatically mean you need to replace it. In many cases, a true deep clean can pull out years of buildup and reveal a much more even, brighter surface. And when the grout is permanently stained or blotchy, cleaning is still the first step that sets up a stain-free makeover with a color sealer.
How to Deep Clean Tile and Grout Without Wasting Time
Start by figuring out what you are cleaning. Floor tile in an entry or kitchen usually carries dirt, oils, and residue from regular foot traffic. Shower tile tends to collect soap scum, hard water minerals, shampoos, and mildew staining. Those differences matter because an alkaline cleaner works better on grease and organic grime, while acidic formulas are often used for mineral deposits. On natural stone, that choice becomes even more important because some acids can damage the surface.
Before you apply anything, dry vacuum or sweep thoroughly. This sounds basic, but it makes a real difference. Loose grit turns into muddy residue once it gets wet, and that can redeposit into grout lines while you work. If you are cleaning a shower, rinse the walls first with warm water so the cleaner can reach the buildup instead of sitting on dry residue.
Next, pre-treat the area with a dedicated deep cleaner made for tile and grout rather than a general floor soap. Household all-purpose products often leave behind their own film, which is the last thing grout needs. Apply enough cleaner to fully wet the grout joints and tile surface, then let it dwell for the label-recommended time. Dwell time is where much of the cleaning happens. If you spray and immediately scrub, you are making the job harder than it needs to be.
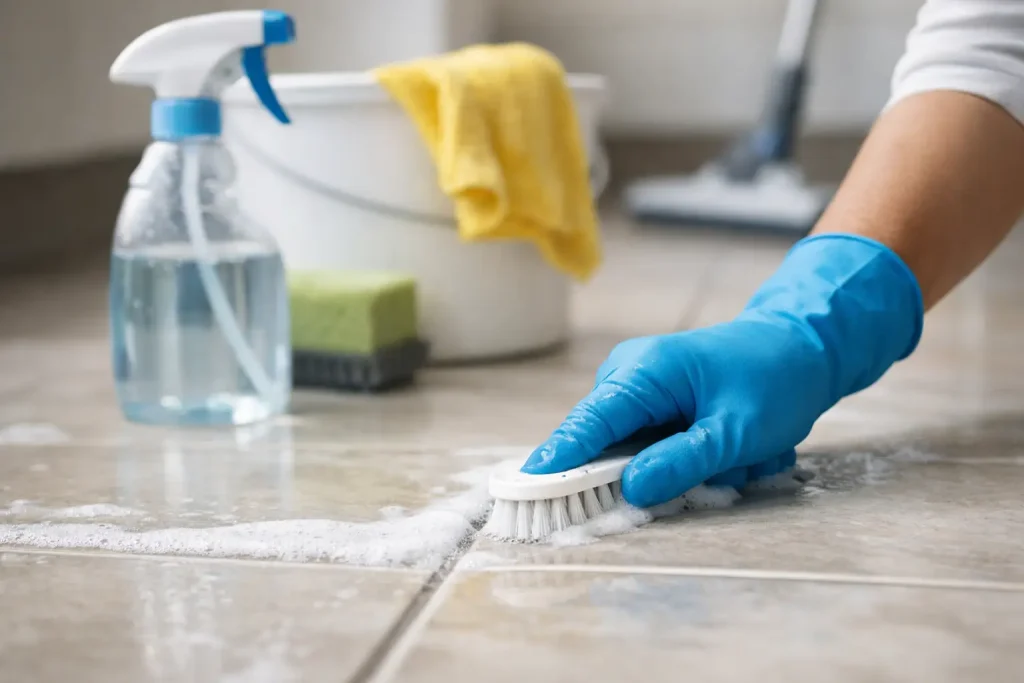
Scrub with a grout brush, deck brush, or other stiff non-metal brush that fits the surface. A toothbrush can work for a few small joints, but it is not practical for a whole shower or kitchen floor. Use tight circular motions on grout lines and broader passes over the tile face. Then rinse thoroughly and extract the dirty solution with clean towels, a sponge, or a wet vacuum if you have one. If you leave the loosened soil in place, it can settle right back into the pores.
One pass may be enough for light soil. For neglected grout, expect two rounds. That is normal, not a sign you are doing it wrong.
What Makes Grout So Hard to Clean?
Grout is porous, especially cement-based grout. It acts almost like a sponge for spilled liquids, mop residue, soap film, and soil carried in from outside. Tile is usually much easier to clean because its surface is denser and less absorbent. That contrast is why the tile can look decent while the grout lines still look dark and uneven.
Older grout is even trickier. Over time, tiny pits and wear spots hold onto contaminants more tightly, and repeated use of harsh cleaners can make things worse by weakening the grout or leaving it rougher. Bleach is a common example. It may lighten organic stains temporarily, but it does not always remove the underlying grime, and repeated use can lead to inconsistent color or grout deterioration.
That is why the goal is not just whitening. The goal is removal. When you remove the buildup instead of just bleaching the surface, you get a cleaner, more uniform result that lasts longer.
The Best Way to Deep Clean Tile and Grout by Area
Kitchen floors usually respond best to a degreasing deep cleaner and agitation with a stiff floor brush. Pay extra attention around the stove, sink, and refrigerator, where cooking oils and food spills settle into grout over time. Rinse generously because kitchen residue tends to smear if you use too little water.
Bathroom floors often have a mix of body oils, hair product residue, and tracked-in dirt. Here, deep cleaning works best in smaller sections so the cleaner does not dry before you scrub. Corners around the toilet and vanity usually need a second pass because buildup is concentrated there.
Showers are their own category. If you are dealing with soap scum and hard water haze, you may need one cleaner for organic film and another for mineral deposits. Use caution on natural stone and always verify that the product is safe for the surface. Ceramic and porcelain tile are more forgiving, but polished stone, marble, travertine, and some pebble surfaces need specialized care.
If you manage rental units or commercial restrooms, efficiency matters as much as appearance. Deep cleaning larger tiled areas often works best with a system: pre-spray, dwell, machine or brush agitation, then thorough extraction. The principle is the same whether you are cleaning one shower or twenty apartment bathrooms.
When Cleaning Alone Is Not Enough
Sometimes the grout is clean but still looks bad. This happens when the original grout color was too light for the space, when old stains have penetrated below the surface, or when years of wear have left the lines blotchy. In that case, you are not looking at dirt anymore. You are looking at permanent discoloration.
That is where many homeowners get frustrated and assume regrouting is the only fix. Usually, it is not. After a proper deep clean, a grout color sealer can restore a uniform color and add stain protection at the same time. That means you are not just improving the look today. You are also making the grout easier to maintain going forward.
For homeowners trying to avoid demolition, this is often the smartest move. It delivers a dramatic visual reset without tearing out sound grout. For pros and property managers, it is a reliable way to standardize appearance across older installations and extend the life of the surface.
This is the restoration-first approach that makes sense for most tile problems: clean thoroughly, evaluate honestly, then protect what you can save.
Mistakes That Keep Tile and Grout Looking Dingy
One of the biggest mistakes is using too much mop water and too little rinsing. Dirty mop water carries soil into grout joints and leaves residue behind. Another common problem is relying on vinegar or bleach for every situation. Vinegar can help with some mineral issues on acid-safe surfaces, but it is not a universal cleaner and should never be used casually on natural stone. Bleach can whiten some stains, but it is not a substitute for a true deep cleaner.
Steam cleaning can be helpful, but it depends on the grout condition and the surface. On durable tile with sound grout, steam may help loosen grime. On fragile, cracked, or deteriorated grout, it can create more problems than benefits. Power tools and aggressive attachments also need a light touch. Faster is not always better if you are grinding away grout along with the dirt.
The safest mindset is simple: match the cleaner and method to the surface, and let chemistry do more of the work than brute force.
How to Keep Grout Cleaner After the Deep Clean
Once the tile and grout are finally clean, maintenance becomes much easier if you avoid residue-heavy products. Use a pH-appropriate maintenance cleaner, rinse when needed, and do not let spills or shower buildup sit for weeks. In bathrooms, good airflow helps more than many people realize. In kitchens, quick wipe-downs around cooking zones prevent grease from migrating into grout lines.
If the grout is unsealed, sealing can help reduce future staining. If it is already worn, uneven, or impossible to keep looking clean, a color sealer is often the better long-term answer because it refreshes the appearance and adds protection in one step. That is one reason restoration pros have trusted systems from This Old Grout for years: they turn a frustrating maintenance issue into a finished, protected surface that stays cleaner longer.
A deep clean should not feel like a never-ending battle. When you use the right cleaner, the right brush, and a process that fits the surface, tile and grout can come back far closer to new than most people expect. If your grout still looks tired after that, do not assume replacement is next. Sometimes the best transformation starts with a proper clean and ends with protection that keeps the hard work looking good.
