

Grout Solutions
Long‑Lasting Grout Sealer: Why Proper Application Matters
Jul
Why Grout Sealing Shouldn’t Be Overlooked
Grout stands as the vulnerable link in tile installations—its porous structure absorbs spills, grime, and moisture. By sealing grout correctly, you protect your surfaces and save money on cleaning and repairs. For three decades, This Old Grout has helped homeowners fight stains with professional-grade grout sealer solutions that are both easy to use and long-lasting.
What Is Grout Sealer — And Why It Matters
Grout sealers act like invisible shields. They fill microscopic pores and block water, oils, and dirt. In high-traffic areas—such as kitchens, bathrooms, and countertops—sealed grout prevents discoloration and microbial growth. Plus, sealers make cleaning effortless and protect your grout long-term.
Common Mistakes That Undermine Grout Sealer Performance
-
Skipping thorough cleaning first
Applying sealer over dirty grout traps residues that block penetration. Instead, clean deeply using This Old Grout’s tile and grout cleaners, then let the surface dry completely. -
Sealing too soon after installation
Fresh grout cures over time and releases moisture—seal only after 48–72 hours. Otherwise, the sealer can’t bond effectively. -
Using the wrong sealer type
Choose solvent-based sealers for unglazed natural stone and water-based fluoropolymers for most ceramic and porcelain tiles. This Old Grout offers a range of sealers designed for specific conditions.
Step‑by‑Step: Correct Grout Sealer Application
1. Deep Clean and Dry
Use tile cleaners to remove film, soap scum, and residues. After rinsing, let the grout dry for at least 24 hours or use a moisture meter.
2. Choose the Right Product
Select a penetrating, breathable sealer from This Old Grout’s line-up. Refer to product labels for coverage and recommended uses.
3. Apply Evenly—Don’t Rush
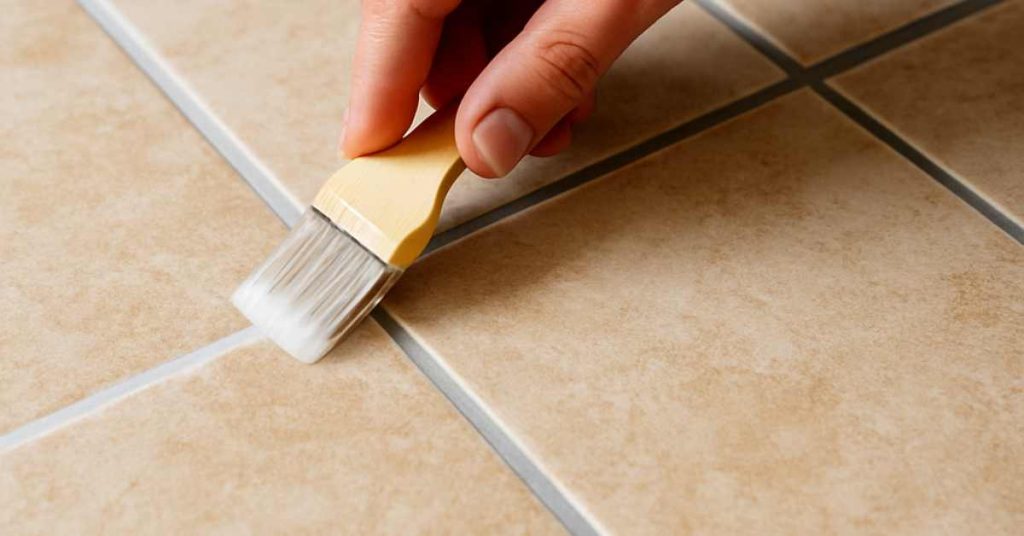
Use a brush or roller to coat grout lines thoroughly. Wipe off excess from tile surfaces to avoid residue. Apply two coats if recommended.
4. Allow Adequate Cure Time
Let the sealer cure per manufacturer guidelines—typically 24 hours. Avoid contact with water during this period.
5. Test and Top Up
Do a water drop test—if water beads up, your grout is protected. Depending on foot traffic and wear, reseal every 1–3 years.
Benefits of Properly Sealed Grout
-
Stain resistance: Guards against wine, oils, and cleaners
-
Healthier living: Reduces mold and mildew buildup
-
Cleaner surfaces: Makes grout easier to wipe down
-
Extended longevity: Prevents cracks and damages from moisture
-
Cost savings: Cuts back on restorations and deep cleaning
Tips for Sealing Various Tile Projects
-
Kitchens & Countertops: Choose a food-safe, solvent-based sealer
-
Bathrooms & Showers: Go for mildew-resistant, vapor-permeable sealers
-
Natural Stone Floors: Use penetrating sealers that don’t amber or surface-lock
-
Outdoor Patios: Opt for UV-resistant and freeze-thaw formula sealers
Always check product specs to ensure compatibility with tile type and location.
Why Homeowners Choose This Old Grout
-
Contractor-grade products: Used by pros but sold to everyone
-
Customized solutions: Sealers and cleaners tailored to each job
-
Trustbuilding formulas: We combine reliability, safety, and ease
-
Pro support available: We guide you through each application step
-
Sustainable and safe: Low-VOC products ideal for all household environments
Summary
Proper grout sealer application preserves your tile investment and enhances home comfort. Avoid common mistakes, choose the right product, and follow careful application steps. This Old Grout makes top-tier sealers accessible and achievable for DIYers and pros alike.
