

Grout Solutions
How to Seal Grout After Cleaning
Jun
You scrub the floor, the grout finally looks clean again, and then one splash of coffee, one muddy shoe, or one steamy shower later, the stains start creeping back. That is exactly why homeowners ask how to seal grout after cleaning. Cleaning removes the grime you can see. Sealing helps block the stains, moisture, and daily wear that make grout look old before its time.
If you want grout to stay brighter longer, the timing and method matter. Seal too soon, and you can trap moisture. Use the wrong type of sealer, and you may not get the protection or finish you expected. Get it right, though, and the whole surface looks cleaner, more uniform, and much easier to maintain.
Why sealing grout after cleaning matters
Grout is porous by nature. Even when it looks hard and solid, it has tiny openings that can absorb spills, body oils, soap residue, cooking grease, and everyday dirt. In wet areas, it can also hold moisture longer than you think, which is one reason showers and bathroom floors tend to discolor so quickly.
Cleaning gets the grout back to a better starting point, but it does not create a barrier. That is the job of a sealer. A good sealer helps repel stains, slows down water penetration, and makes routine maintenance a piece of cake compared to trying to deep clean neglected grout months later.
There is one important trade-off, though. Sealing protects clean grout, but it will not fix grout that is permanently blotchy, heavily stained, or uneven in color. In those cases, a color sealer can be the better move because it restores color and adds stain protection in one step.
How to seal grout after cleaning without trapping problems
The biggest mistake is rushing from cleaning straight into sealing. Grout needs time to dry fully after deep cleaning, especially in bathrooms, kitchens, and other areas where moisture sits below the surface.
As a general rule, wait at least 24 hours after cleaning before applying sealer. In humid rooms or after aggressive scrubbing with a lot of water, 48 to 72 hours is safer. If the grout still looks darker in spots, feels cool and damp, or the room has poor airflow, give it more time. Sealing damp grout can lead to hazy results, weak penetration, or moisture locked below the surface.
Before you start, make sure the grout is actually clean. That sounds obvious, but leftover soap film, hard water residue, or cleaner residue can interfere with bonding. The grout lines should look dry, free of residue, and as close to their final appearance as possible.
Choose the right type of grout sealer
Not every grout sealer works the same way. For most standard cement grout, you will usually choose between a penetrating sealer and a color sealer.
A penetrating sealer is designed to soak into the grout and create invisible protection below the surface. It is a strong choice when your grout already looks the way you want and just needs stain defense. It typically keeps the original appearance with little to no change in sheen.
A color sealer does more. It coats and recolors the grout while also sealing it against future staining. This is often the better solution when the grout is clean but still looks uneven, permanently dingy, or impossible to restore to a consistent color with cleaning alone. For many homeowners, that one-two benefit is what creates the real transformation. Instead of just protecting old-looking grout, you restore it right back to new or very close to it.
Epoxy grout is a different story. It is already highly stain resistant and usually does not need a separate sealer. If you are not sure what type of grout you have, test a small area with a drop of water. If it darkens quickly, it is likely porous and could benefit from sealing.
What you need before you start
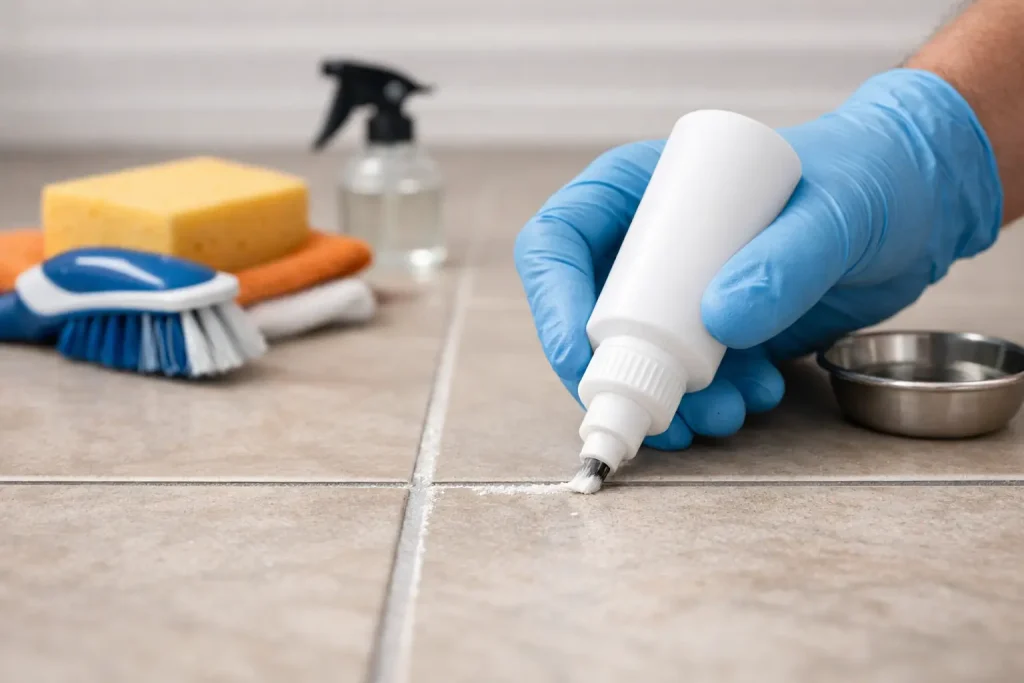
Sealing grout is simple when the prep is right. You do not need a contractor-sized setup, but you do need the right tools for neat application. Most jobs go smoother with a grout sealer applicator bottle, small brush, or applicator wheel, plus clean microfiber cloths for wiping tile as you go.
If you are working with textured tile, natural stone, or very narrow grout joints, application gets more surface-specific. Stone and unglazed tile can absorb product differently, so it is smart to test in a small hidden area first. That small test can save you from uneven results or extra cleanup later.
Step-by-step: how to seal grout after cleaning
Start with a fully dry surface. Vacuum or wipe away any dust, pet hair, or debris sitting in the grout lines. Even light debris can interfere with an even seal.
Apply the sealer directly to the grout line, not broadly across the whole tile surface unless the product is designed for that method. Work in small sections so you can stay precise and keep the application even. If you are using a penetrating sealer, the goal is to saturate the grout without letting puddles sit on the tile too long.
Let the sealer dwell according to the product directions. Some need a few minutes to penetrate before wiping, while others may require a second coat after the first begins to absorb. This is one of those it-depends moments. Older, thirstier grout may soak up more product than newer grout, and high-traffic areas often benefit from a little extra attention.
Wipe excess sealer off the tile surface with a clean cloth before it dries into haze. This step matters more than many people expect. The grout should retain the protection, but the tile should not be left with residue.
If the product calls for a second coat, apply it within the recommended window. Then allow the sealed grout to cure fully before exposing it to water, foot traffic, or routine cleaning. Cure time varies, but 24 to 48 hours is common.
Common mistakes that ruin grout sealing results
Most grout sealing problems come down to three things: dirty grout, damp grout, or too much product left on the tile. If the grout was not truly clean before sealing, you can end up locking in discoloration instead of protecting a fresh surface.
Another common issue is assuming every sealer is permanent. Sealing helps a lot, but traffic, cleaners, and moisture all affect longevity. Shower floors, busy kitchens, and entryways may need more frequent attention than a guest bathroom wall.
Harsh maintenance is another problem. Strong acidic cleaners, bleach-heavy products, or stiff scrubbing can wear down some sealers faster. Once the grout is sealed, maintenance should become gentler, not tougher.
When cleaning and clear sealing are not enough
Sometimes the grout is technically clean, but it still looks tired. Maybe the original color is patchy. Maybe old stains left shadowing. Maybe years of traffic changed the look permanently. In those cases, continuing to clean harder usually does not produce a better result.
That is where a professional-grade color sealer can make more sense than a standard clear sealer. It gives the grout a uniform, refreshed appearance while sealing out future stains. For homeowners trying to avoid regrouting or full tile replacement, that can be the biggest visual payoff for the least disruption.
This is where a restoration-first approach really shines. Brands like This Old Grout have built systems around the reality that homeowners do not just want clean grout for a day. They want grout that looks better, stays protected, and is easier to live with long term.
How to keep sealed grout looking good
Once the grout is sealed, maintenance gets much more manageable, but not zero-effort. The biggest win comes from regular light cleaning before grime has a chance to build up again.
Use a pH-appropriate cleaner for the surface, especially if you have natural stone nearby. Wipe up spills quickly in kitchens. In showers, reduce soap and hard water buildup with routine rinsing and ventilation. On floors, keeping grit and dirt under control with vacuuming or dust mopping helps prevent the grout from looking dingy again.
A simple water-drop test can tell you when protection is fading. If water beads on the grout, the sealer is still doing its job. If it darkens and absorbs quickly, it may be time to reseal.
The real goal: clean once, protect for longer
Learning how to seal grout after cleaning is less about adding one extra chore and more about protecting the work you already did. When the grout is clean, dry, and sealed with the right product, the whole room holds onto that fresh, finished look much longer.
And if your grout is beyond what a clear sealer can improve, that is not the end of the road. Sometimes the smartest fix is not replacing grout at all. It is choosing a sealing solution that also restores the color, cuts future maintenance, and gives your tile the stain-free makeover it should have had from the start.
