

Grout Solutions
How to Recolor Bathroom Grout Right
Jun
If your bathroom grout still looks dirty right after you scrub it, the problem usually is not your cleaning routine. It is that the grout has absorbed years of soap residue, hard water minerals, body oils, and stains that regular cleaners cannot fully reverse. That is exactly why homeowners search for how to recolor bathroom grout instead of tearing everything out. Recoloring can give tile lines a clean, uniform finish without the mess, cost, and downtime of regrouting.
The good news is that grout recoloring is very doable as a DIY project when you use the right prep and the right type of product. The better news is that the best grout colorants do more than change the shade. They also seal and protect the grout, which means you are not just improving the look of the room – you are setting it up to stay cleaner longer.
Why recoloring grout works so well in bathrooms
Bathroom grout ages hard. It deals with moisture, humidity, shampoo splatter, toothpaste, hard water, and constant traffic in a small space where every stain stands out. Even light-colored grout that once looked crisp can turn blotchy, yellow, brown, or gray over time.
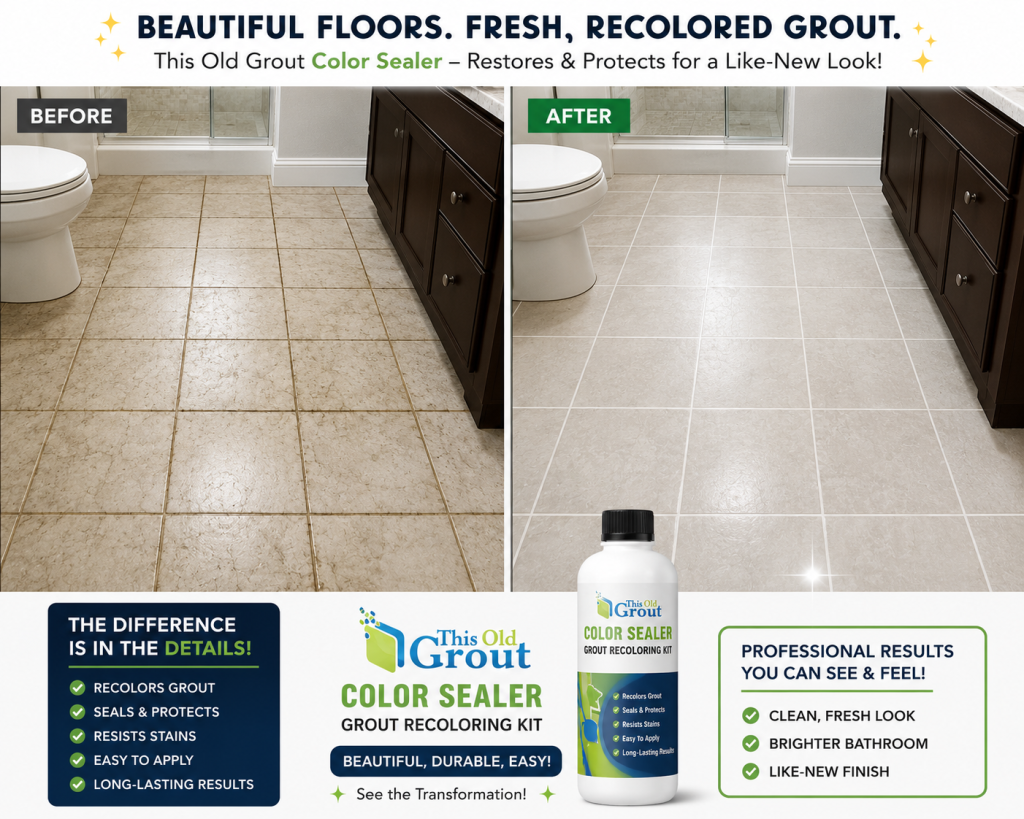
Recoloring works because it addresses the visual problem directly. Instead of trying to force old grout back to its original shade with harsher and harsher cleaners, a grout color sealer creates a fresh, even finish across the joint surface. That can make the whole shower, floor, or backsplash look restored right back to new.
There is one trade-off to keep in mind. Recoloring is ideal when the grout is structurally sound but ugly. If the grout is crumbling, missing in sections, or pulling away from the tile, color alone will not fix that. In those cases, repairs come first.
How to recolor bathroom grout step by step
The biggest difference between a frustrating result and a professional-looking one is prep. Most application problems trace back to residue left on the grout or trying to color damp joints.
1. Make sure the grout is a good candidate
Take a close look at the grout lines. If they are intact, firmly bonded, and just stained or uneven in color, recoloring is a strong option. If you see cracked corners, soft spots, or missing grout, repair those areas before anything else.
This is also the time to decide whether you want to match the current grout color or change it. Matching gives you a cleaner version of the existing look. Changing the color can dramatically shift the style of the room. A darker grout tends to hide future staining better, while a lighter grout can make the bathroom feel brighter but may need more routine care.
2. Deep clean the grout first
Grout color sealer needs a clean surface to bond properly. That means removing soap scum, mineral buildup, body oils, mildew residue, and any cleaner film left behind from past products.
Use a grout-safe deep cleaner and agitate the joints with a brush. In showers, spend extra time on lower walls, corners, and the floor where buildup is usually heaviest. Rinse thoroughly. If the bathroom has hard water deposits or heavy soap scum, one round may not be enough. It is better to repeat the cleaning than to rush into application over contamination.
Avoid using oily cleaners, waxy cleaners, or anything that leaves a shine behind. If the grout feels slick instead of clean and porous, it is not ready.
3. Let the grout dry completely
This part gets skipped all the time, and it causes trouble. Grout holds moisture longer than the surface suggests, especially in showers and around tubs. If you apply color sealer before the joints are truly dry, adhesion can suffer and the finish may cure unevenly.
As a rule, let the area dry thoroughly after cleaning. A bathroom fan helps. Good airflow helps more. In frequently used bathrooms, timing matters, so it may make sense to tackle the project when the room can stay dry for a full day or two.
4. Apply the grout color sealer carefully
When people ask how to recolor bathroom grout, they often assume it is like painting a wall. It is more precise than that, but still manageable. You are applying color directly to the grout joints, not coating the whole tile surface and hoping for the best.
Use an applicator suited for grout lines and work in small sections. Apply a thin, even coat along the joint. The goal is full coverage without flooding the tile. After a short set time, wipe any excess off the tile surface while leaving the color sealer in the grout line.
This step rewards patience. Small sections give you more control, especially on textured tile, mosaics, or tight shower walls. If the grout is very porous or the original color is dark, a second coat may be needed for complete uniformity.
5. Clean up the tile surface as you go
Most grout recoloring jobs look sharp because the lines are crisp. That comes from wiping tile edges clean before the product fully dries on the surface. Smooth glazed tile is usually straightforward. Textured tile can take more attention because color can catch in the pits and grooves.
If your tile has a rough or natural finish, test a small hidden area first. In some cases, recoloring grout next to highly textured tile is still possible, but it requires a slower, more controlled application.
6. Allow proper cure time
Once the grout is colored, give it time to cure before exposing it to water, heavy foot traffic, or regular cleaning. This is especially important in showers. A rushed return to service can affect the final durability.
Follow the product directions closely. Professional-grade formulas are designed to hold up for the long term, but only if they get the cure time they need.
Common mistakes that ruin the finish
The most common mistake is trying to recolor grout that is not fully clean. If there is invisible residue in the joints, the new finish may not bond evenly. The second big mistake is applying too much product at once. Thick application does not usually improve coverage. It more often creates extra cleanup and uneven lines.
Another issue is choosing the wrong product. A true grout color sealer is built for this job. Generic paint or improvised coatings can peel, wear off, or look patchy fast in a wet bathroom.
Then there is the color decision. Going dramatically lighter over very dark, heavily stained grout can work, but it may take more effort and sometimes more than one coat. If ease and long-term maintenance matter most, a mid-tone or darker shade is often the more forgiving route.
Where bathroom grout recoloring makes the biggest difference
Floor tile is the most obvious transformation because stained grout lines make the entire room look older than it is. Recoloring can sharpen the grid of the floor and instantly make the space feel cleaner.
Showers benefit just as much. Wall tile with dingy joints tends to read as permanently dirty, even after a deep scrub. Fresh, sealed grout gives the whole enclosure a brighter, more polished look.
It also works well on backsplashes and around vanities, where splashes from soap and toothpaste slowly discolor grout over time. In all of these areas, the value is not just cosmetic. Sealed grout is easier to maintain than porous, unprotected grout.
How long does recolored grout last?
That depends on the product, the prep, and the bathroom itself. A low-use guest bath is easier on grout than a busy family shower used multiple times a day. Even so, a professional-grade color sealer can hold up for years when applied correctly. That is a big part of the appeal. You are not signing up for a short-term cover-up.
This is where systems matter. A restoration-first approach that starts with proper deep cleaning and finishes with a color sealer gives better long-term results than trying to shortcut the process. Brands built around grout restoration, including This Old Grout, focus on that full sequence because it delivers the stain-free makeover homeowners actually want.
Keeping the new grout color looking fresh
Once the grout is recolored, maintenance gets much easier, but not nonexistent. Use a pH-appropriate cleaner for routine upkeep and avoid harsh products that can break down the finish over time. Quick rinse-downs in showers help reduce soap and mineral buildup before it hardens.
It also helps to fix small bathroom habits that cause big staining. Better ventilation reduces lingering moisture. Wiping down shower walls cuts down residue. Catching leaks early prevents hidden discoloration around toilets and vanities.
If your grout makes the bathroom look tired even after cleaning, recoloring is often the smartest fix. You skip demolition, keep your existing tile, and get a cleaner, more uniform finish that looks professionally restored. Done right, it is less about covering up old grout and more about giving the whole room a fresh start that is built to last.
